
Choosing a Wireless Dual Microphone System involves more than comparing prices, channels, and advertised range. It requires a close look at venue size, speaker movement, receiver placement, battery access, and interference risks. A presenter walking between metal trusses may need a different setup from two instructors standing on a quiet stage.
Market data shows why this category deserves careful evaluation. Grand View Research reports continued growth in the global wireless microphones market, supported by events, education, broadcasting, and content production. MarketsandMarkets also identifies rising demand for compact, flexible audio systems. These reports indicate strong adoption, but they do not guarantee that every system will perform well in every room.
Bruce Bartlett, a microphone designer and author, has written, “The microphone is the first link in the recording chain.” That point remains practical. Poor microphone placement cannot be fully repaired by software. A reliable Wireless Dual Microphone System should deliver stable transmission, clear speech, manageable latency, and independent volume control for both users. Battery indicators and automatic frequency coordination matter, too.
Real-world testing still matters. A specification sheet cannot show how two microphones behave beside LED walls, Wi-Fi routers, or crowded audience seating. There is no perfect setup. Even experienced buyers can overlook antenna positioning or backup power. This guide examines the technical details, operating conditions, and ownership costs that shape a dependable choice. The goal is simple: clearer speech, fewer dropouts, and less stress when the room becomes unpredictable.
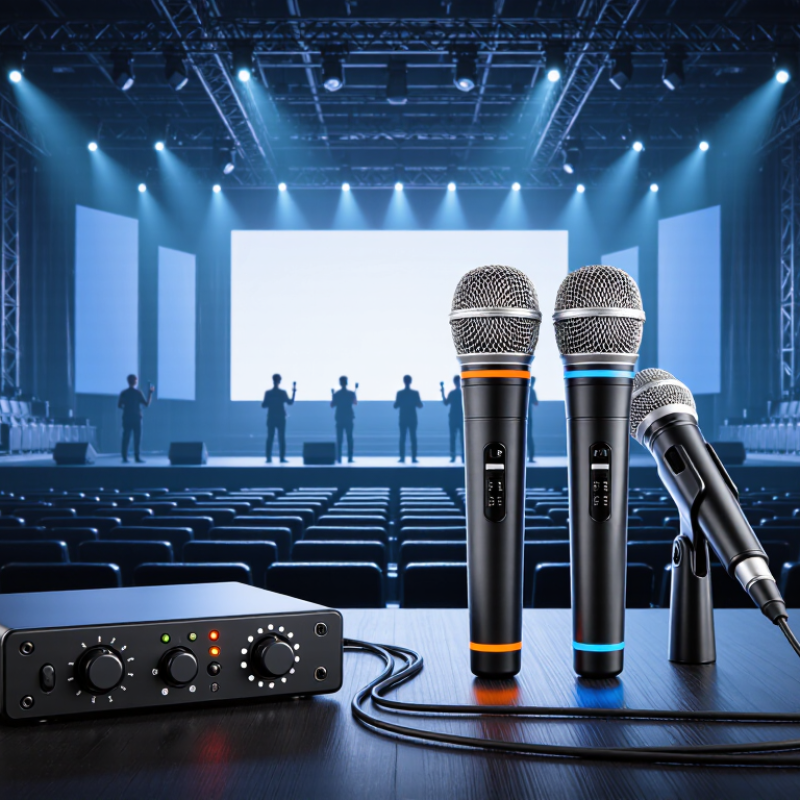
Define Your Recording or Performance Requirements
How to Choose a Wireless Dual Microphone System?
Define Your Recording or Performance Requirements
Start by describing the real situation, not the equipment you hope to buy. Will two presenters speak across a quiet room, or will two performers move around a crowded stage? A seated interview may need two clip-on microphones. A live performance may require two handheld microphones with secure grips. Write down the speaking distance, movement, venue size, and recording device. Small details matter.
Test the system where it will actually operate. Measure the farthest point between each microphone and the receiver. Walls, metal structures, wireless networks, and nearby electronics can weaken communication. For a classroom interview, a short stable range may be enough. For a large venue, choose a system with suitable range and clear frequency management. Do not trust impressive distance claims without testing them indoors.
Consider how long each session lasts. Two microphones can drain batteries faster than expected, especially during rehearsals and repeated takes. Check battery life, charging options, receiver connections, and backup recording features. I once underestimated setup time because both transmitters needed separate adjustments. That mistake was avoidable. A simple sound check should confirm volume balance, speech clarity, and unwanted noise before recording begins. Listen carefully. Voices should remain natural, even when speakers turn away from the receiver.
FAQS
Describe the real situation before choosing equipment. Note speaking distance, movement, venue size, and recording device. A seated interview may need two clip-on microphones. Moving performers may need handheld microphones.
Measure the farthest distance between each microphone and the receiver. Walls, metal frames, people, and stage equipment can reduce usable range. Test the system indoors. A claimed 30-meter range may fail behind concrete.
Digital systems often use 2.4 GHz, while other systems use UHF or regional bands. Wireless networks and nearby devices can affect 2.4 GHz performance. UHF may be cleaner, but permitted channels vary locally. Check frequency rules before purchase.
Walk to the farthest speaking position in the actual room. Listen for dropouts, clicks, and sudden volume changes. Keep the receiver away from routers and large metal surfaces. Do not trust specifications alone.
Automatic channel scanning and diversity reception can improve stability. Separate channels may help both microphones operate clearly. Clear battery warnings are useful. Careful receiver placement can matter more than expensive specifications.
Confirm the connector, input format, and operating-system support. A camera may use a 3.5mm input. A phone may require a suitable adapter. Test every cable before recording. I once assumed a cable would fit, but its signal was wrong.
Look for two transmitters, a receiver, charging equipment, windshields, clips, cables, and a storage pouch. A missing windshield can make speech harsh in light wind. Keep one backup cable nearby. Small omissions become annoying later.
Fully charge both transmitters and allow extra charging time. Pair them in a quiet room. Check volume balance, speech clarity, clothing rustle, and background noise. Record a short sample and replay it through headphones. Listen carefully.
Consider the full session, including rehearsals and repeated takes. Two microphones may drain batteries faster than expected. Check battery life, charging options, and receiver connections. Backup recording can provide useful protection. Still, do not rely on it blindly.
Conclusion
Choosing the right Wireless Dual Microphone System starts with understanding your recording or performance needs. Consider whether you will use it for interviews, presentations, live events, video production, or small performances, as each situation may require different range, pickup patterns, and operating flexibility. Compare available wireless frequencies, transmission range, and signal stability to ensure clear audio with minimal interference. Local conditions, indoor or outdoor use, and the number of nearby wireless devices can all affect performance.
Next, evaluate microphone types, sound quality, and battery life. Select microphones that match your voices, environment, and desired level of clarity. Check compatibility with cameras, mixers, speakers, or other equipment, and review the controls for easy setup and adjustment. Included accessories such as receivers, charging options, clips, cables, and storage cases can add practical value. Finally, balance useful features, dependable operation, durability, and total cost rather than focusing only on the lowest price. A well-chosen system should provide stable connection, natural sound, convenient handling, and reliable performance over time.